Calculate a storage footprint
Enter the combined packed volume from your inventory and a realistic stacking height.
Formula: volume ÷ usable stacking height × (1 + allowance / 100). This is a planning footprint, not a guarantee that furniture fits. Check unit doors and dimensions with the facility.
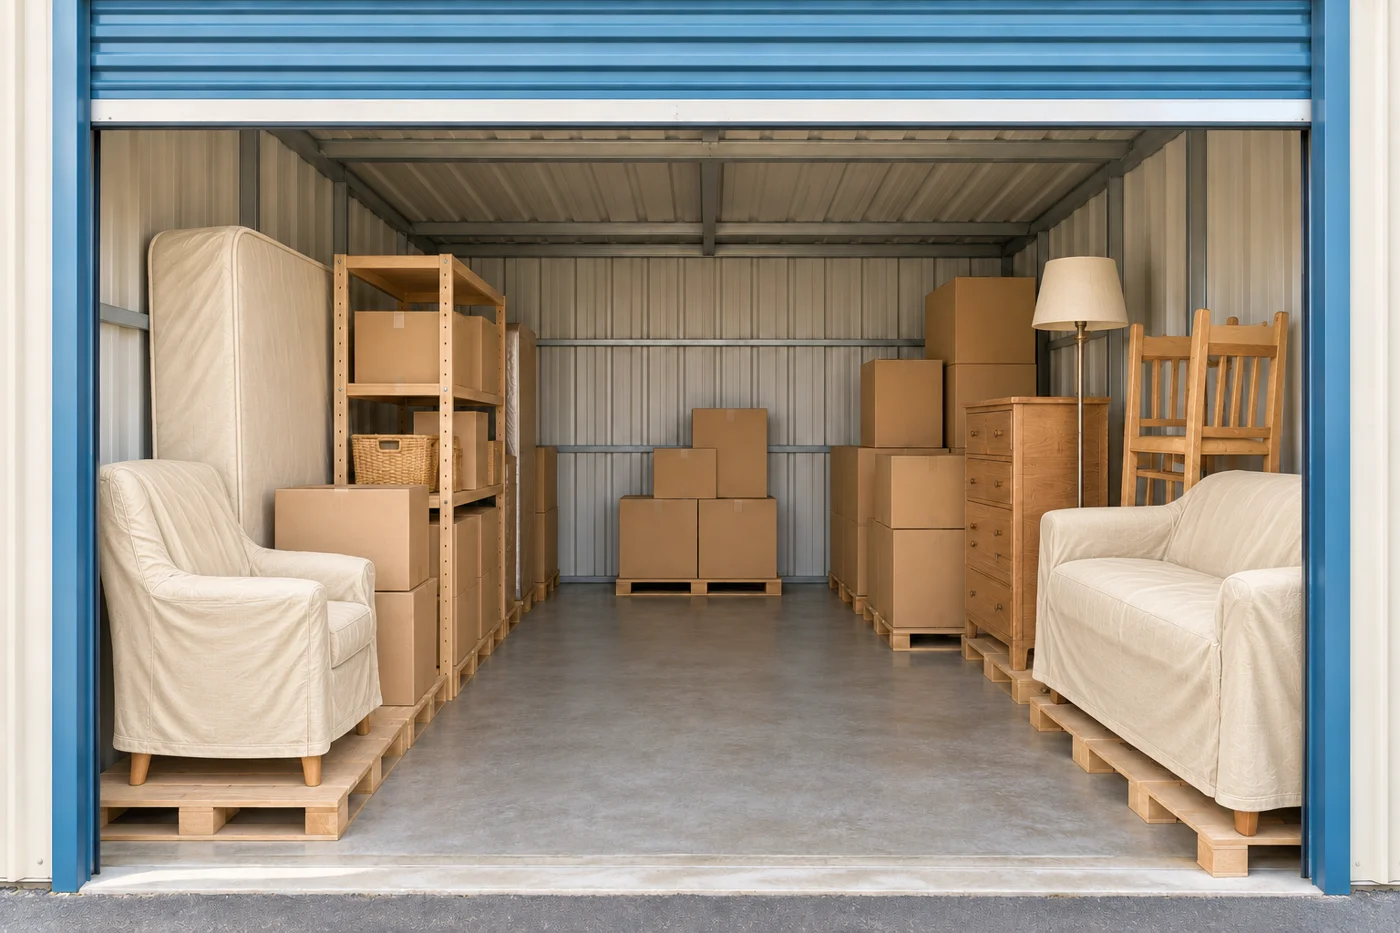
Use the result as a floor area estimate
The storage calculator turns a packed inventory volume into an estimated floor area. It uses three inputs: the combined volume of the belongings in cubic feet, a planned stacking height in feet, and a percentage allowance for access and imperfect packing. The result helps you compare possible storage spaces. It does not choose a facility, reserve a unit, or prove that a particular sofa will fit through a doorway. Those decisions require the actual dimensions and conditions of the unit you are considering.
Start with the belongings you truly intend to store. Exclude items going directly to the new home and add any cartons or furniture that will join the stored shipment later. A calculation based on an outdated inventory can look precise while answering the wrong question. Keep your measurements and assumptions beside the result. When the inventory changes, update the volume and calculate again. The useful output is a traceable planning figure, not a promise that every object can be packed into that amount of floor space.
Understand the formula before entering numbers
The calculator divides packed volume by planned stacking height, then multiplies that area by one plus the allowance percentage divided by one hundred. For example, a hypothetical inventory of three hundred cubic feet, stacked to four feet with a thirty percent allowance, produces ninety seven and a half square feet. The displayed result rounds that figure upward to ninety eight square feet. These are example assumptions, not a recommendation for a particular household or an industry rule about how possessions should be stacked.
The calculation treats the inventory as if its volume can be distributed across the planned height. Real furniture does not behave like a uniform block. A dining table, sofa, and fragile lamp may leave spaces that cannot be filled safely. The allowance gives you a way to acknowledge some of that inefficiency, but it does not model each object's shape. After calculating, compare the result with a practical layout and the facility's information. The mathematical area is one check within the decision, not the entire decision itself.
Measure the packed inventory consistently
Measure the outside dimensions of cartons and the protected dimensions of furniture as it will enter storage. Use feet for length, width, and height when calculating cubic feet. Multiply those dimensions for each rectangular item, then add the volumes. If your tape gives inches, convert all measurements consistently before combining them. Do not multiply inches and feet together and label the result cubic feet. Record the original measurements so you can check a surprising result without measuring the whole household again.
For identical cartons, measure one representative box and multiply its volume by the number of boxes. For irregular furniture, use a reasonable bounding rectangle and note the limitation. The volume enclosed by that rectangle may include empty space that another item cannot actually use. Avoid counting the same object twice when it is part of a dismantled set. If a table's legs are packed inside a carton already included in the inventory, the calculation should not add their volume again as a separate item. Consistent counting matters more than unnecessary decimal precision.
Choose a realistic stacking height
The planned stacking height should reflect the belongings, their containers, and a safe arrangement. It is not automatically the unit's ceiling height. Some cartons can support other suitable cartons, while delicate or unstable items should not carry a load. Furniture may have vulnerable surfaces or a shape that prevents useful stacking. Ask the facility and any hired movers about appropriate handling. Follow packaging and product instructions where relevant. Do not increase the height merely to make the calculated floor area match a cheaper unit.
Think about the whole inventory rather than the tallest stack you could build. If much of the shipment cannot be stacked, a lower effective height may better represent the plan. The calculator accepts one height, so it cannot distinguish separate zones with different stacking limits. You can make separate calculations for groups when that helps, then review the combined layout. Keep exits and access routes usable. A mathematically efficient arrangement is not useful if retrieving a box requires dismantling an unstable pile or lifting heavy objects from an unsafe position.
Set an allowance for the way you will use storage
The access and packing allowance adds area beyond the simple volume divided by height calculation. Use it to consider walkways, uneven shapes, and space needed to handle belongings. The appropriate assumption depends on your inventory and how often you will visit. A tightly packed shipment that remains untouched until removal has different access needs from a unit used to retrieve work supplies every week. The percentage is your planning choice. The calculator does not inspect the belongings or determine an allowance automatically.
Test more than one assumption and see how the result changes. If a small change produces a different unit choice, inspect the layout carefully before committing. Write down why you selected the allowance, such as a central aisle or several items that cannot be stacked. Do not use a percentage to hide a known dimensional problem. A long table still needs sufficient usable length, regardless of the area allowance. The purpose of the input is to make uncertainty visible and manageable, not to turn an unsuitable unit into a suitable one through arithmetic.
Check unit shape as well as area
Two storage units can have the same floor area and different usefulness. A narrow space may not accommodate a large item in the orientation you need, even if the calculator's total area is lower than the advertised area. Obtain the unit's actual interior dimensions and examine any columns, recesses, door tracks, or other obstructions. Ask whether the advertised size is nominal and whether the specific unit differs. Measure critical clearances where permitted. Do not assume that the number in a unit description describes every usable part of the space.
Sketch a simple layout using the largest pieces first. Mark the entrance, the route through the unit, and the items you expect to retrieve. Add cartons only where they can be stored safely without blocking those needs. Check that furniture can turn into its planned position. A drawing does not need architectural precision to reveal an obvious conflict. If the layout depends on placing an object upright or on its side, confirm that the object can be stored that way without damage. Its orientation should follow safe handling, not convenience alone.
Measure the route into the unit
Storage fit begins before the belongings reach the floor. Check the facility entrance, loading area, corridors, elevators, and unit door. A large cabinet may fit inside the unit yet fail at an earlier turn. Ask about vehicle access, loading hours, reservations, and available equipment. If you hire movers, send them the relevant details before the appointment. A floor area estimate cannot account for a long carry or a narrow lift, and those conditions may affect both the work and the service quote.
Measure the largest items against the narrowest points along the route. Include packaging that will remain in place during handling. If a piece can be disassembled, establish who will do it and how the parts will be protected and labeled. Do not assume the facility provides labor or tools because carts are available. Confirm the actual service. If the approach is unsuitable, consider a different unit or facility before the shipment arrives. A slightly different layout can be much easier to use than an apparently adequate space reached through an impractical route.
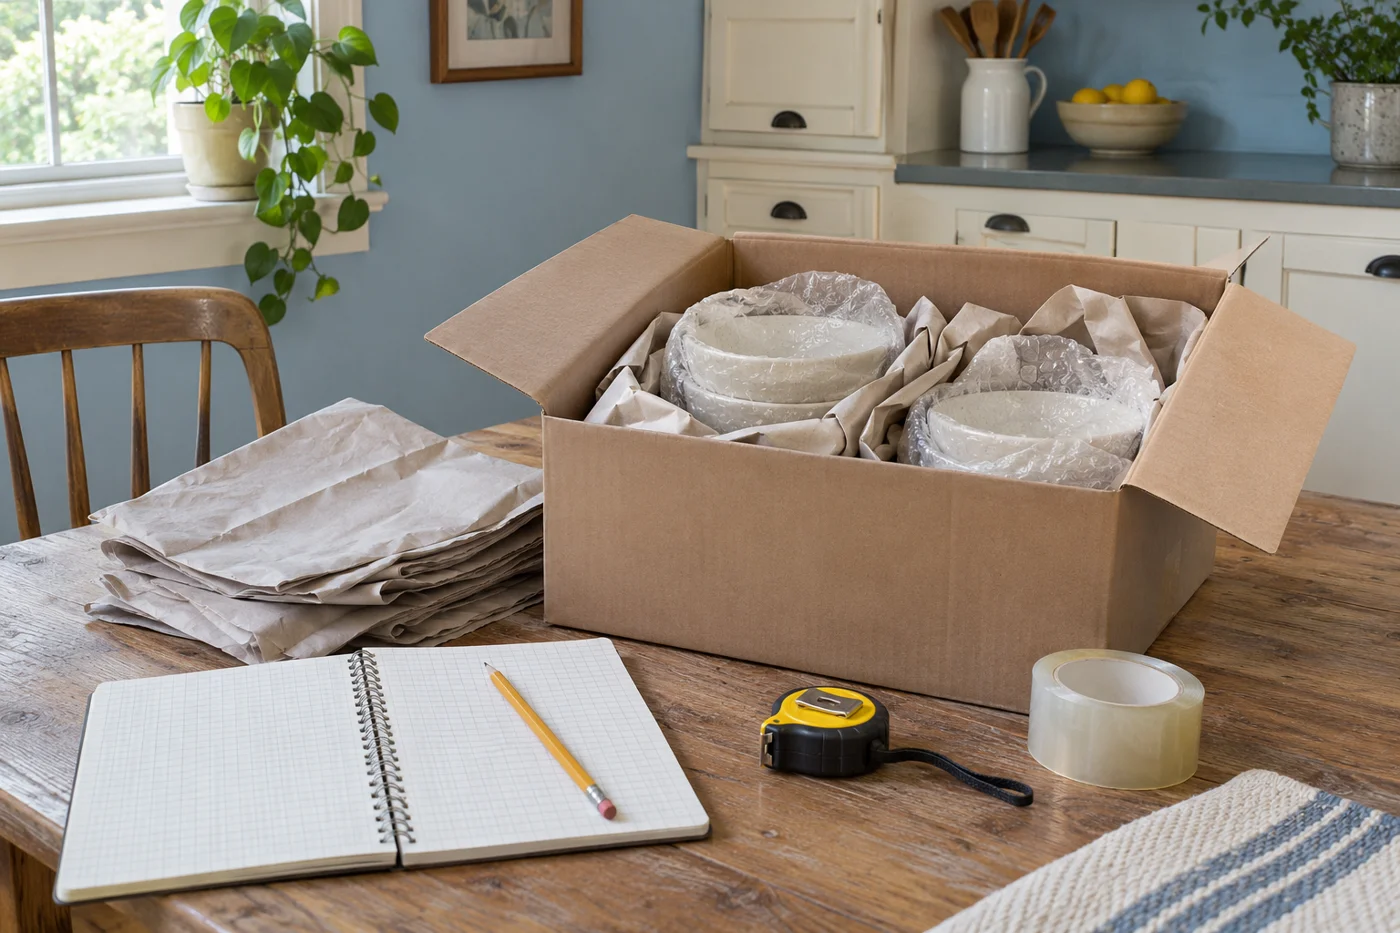
Separate access groups before packing
Divide stored belongings by how soon you expect to need them. Keep frequently used items near an accessible route and place longer term goods in positions that do not interfere with retrieval. Label cartons on visible sides and maintain an inventory with a location note. A simple section description such as front left shelving is often enough. Avoid putting sensitive information or descriptions of valuable contents on outward facing labels. Keep detailed records separately, where you can use them without opening the entire unit.
Plan the removal order as well as the storage arrangement. If some belongings will leave before others, their location should support that sequence. A household moving in stages may need a bed and kitchen supplies before seasonal decorations or spare furniture. Tell hired loaders about the intended order. Without that information, they may reasonably prioritize packing efficiency. The calculator's allowance can help you plan access space, but only a labeled inventory and deliberate layout tell people which items need that access and why.
Check storage suitability beyond size
Size is only one part of the choice. Ask about environmental conditions, access arrangements, prohibited items, security procedures, and the facility's reporting process. Consider the needs of the actual goods, including furniture, electronics, paper records, fabrics, and other vulnerable belongings. Pack only clean, dry items and use suitable protection. Do not assume that a phrase describing climate control guarantees a particular result for every object. Obtain the facility's explanation of the conditions and consider any manufacturer or specialist advice relevant to valuable or sensitive items.
Read the agreement and understand charges, notice requirements, payment dates, and access restrictions. Ask how increases or changes are communicated. If storage is part of a moving service, confirm whether you can visit the goods or whether they remain in a shipment handled only by the provider. That arrangement differs from managing your own unit. Keep the agreement and inventory outside storage. You should be able to contact the responsible business, review the terms, and identify your belongings without needing access to documents packed inside the space.
Compare total arrangements rather than area alone
A larger or differently shaped unit may reduce handling difficulties, but the decision should reflect your needs and actual costs. Obtain prices directly from facilities and confirm what each includes. Consider transport, loading, equipment, access, recurring charges, and eventual removal. Do not treat a quoted monthly amount as the complete storage cost. A unit that requires a difficult second journey or specialized handling may change the overall comparison. The calculator deliberately does not estimate prices because its inputs describe physical space, not a facility's service terms.
Write a short comparison for the options that pass the dimensional checks. Include usable size, access conditions, relevant environmental features, quoted charges, and unresolved questions. If a provider offers a promotion, read the ongoing terms and the conditions attached. Avoid choosing before you understand how long the belongings may remain stored. Where timing is uncertain, compare plausible durations using the actual quoted costs. Keep that financial calculation separate from the footprint calculation so a change in price does not obscure whether the belongings physically fit.
Recalculate after changing the inventory
Run the calculator again when you remove furniture, add cartons, or decide to store a different group. Keep a dated note of the volume, height, allowance, and result. This makes it easier to explain your assumptions to a household member or mover. Do not compare two results without checking whether all three inputs changed. A lower figure could reflect a more aggressive stacking assumption rather than fewer belongings. Review the reasons for the difference before concluding that a smaller unit is now suitable.
Before move in, verify the actual unit and access arrangements with the facility. Walk through the proposed layout and confirm that the largest objects can enter and be placed safely. Keep essential items outside the stored shipment if you may need them unexpectedly. After loading, update the inventory to reflect where things ended up. The calculation has done its job when it supports a usable storage plan. Its value comes from connecting measurements, assumptions, and a physical check, then revising the plan when those facts change.
Work through a second example
Consider a hypothetical packed inventory of four hundred cubic feet. With a planned stacking height of five feet and a twenty five percent allowance, the formula gives one hundred square feet. If the same inventory can only be arranged to an effective height of four feet, that allowance produces one hundred twenty five square feet instead. The example shows how strongly the height assumption affects the result. It does not establish which height is safe for your belongings or which unit dimensions you should rent.
Now imagine that a long sofa in this inventory requires more usable length than one candidate unit provides. The area result does not solve that problem. You need to inspect another layout, use a different unit, or decide not to store the sofa. Likewise, a narrow doorway can rule out a space before its area becomes relevant. Use the arithmetic to narrow the possibilities, then let actual dimensions and safe handling determine whether a particular option works. Keeping those checks separate prevents a plausible number from overriding an obvious physical limitation.
Avoid common measurement shortcuts
Do not substitute the number of rooms in the old home for packed volume. Room counts can hide major differences in possessions and furniture. A lightly furnished bedroom and a crowded hobby room do not create equal shipments. Avoid using the outside dimensions of a moving truck as if they were the volume of your goods. The vehicle may contain empty space, wheel wells, and an arrangement intended for transportation rather than storage. Build the storage inventory from the objects you plan to put into the unit.
Also avoid combining advertised furniture dimensions without checking the packed form. A table with removed legs occupies space differently from the assembled table, and protective packaging may increase another item's outside dimensions. Write a note whenever your measurement is an approximation. This does not make the inventory less useful; it shows where a physical check may change the result. If uncertainty is concentrated in a few large pieces, measure those pieces again before spending time refining small cartons whose total volume is already reasonably clear.
Keep a record you can use at the facility
Save the input assumptions and the calculated result with your inventory notes. This calculator supplies a result on the page; do not depend on that displayed figure as the only record of your planning. Write it down or keep an appropriate copy for your own use. Include the candidate unit dimensions and the questions still requiring confirmation. A concise record helps you explain the plan at the facility without reconstructing every measurement during a telephone conversation or a visit.
When you inspect the space, mark each question as answered or still open. Confirm the door, usable layout, access arrangements, and storage conditions. Bring a tape measure if the facility permits measurements and ask staff to clarify any uncertain dimensions. Keep the final agreement separately from your calculation. One documents the service you purchased; the other records the assumptions used to plan the space.
Review both records before loading begins. Resolve any mismatch while you can still change the arrangement, rather than after the belongings have arrived and the space is committed.